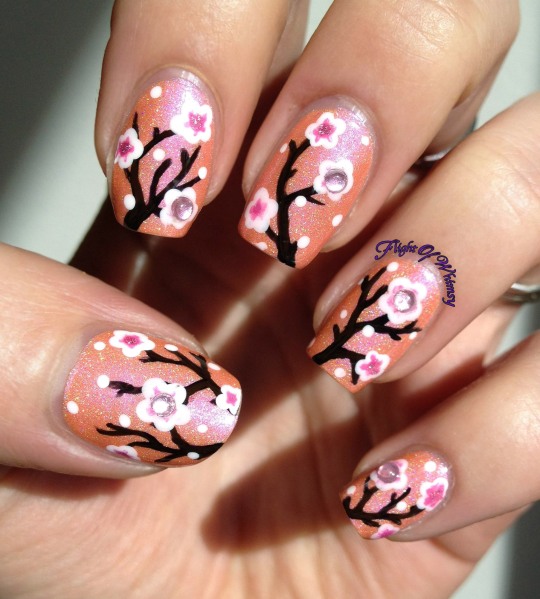
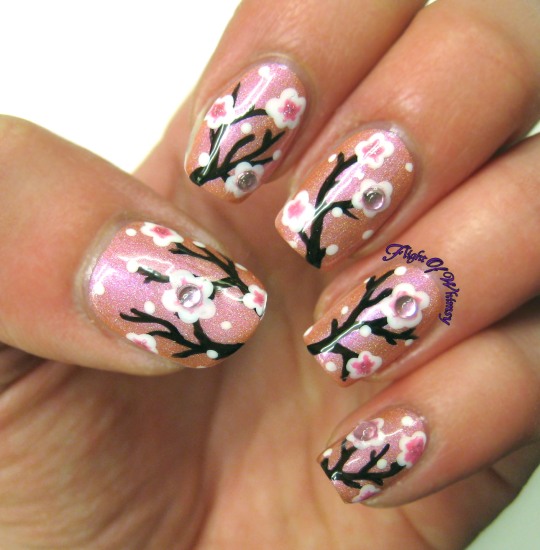
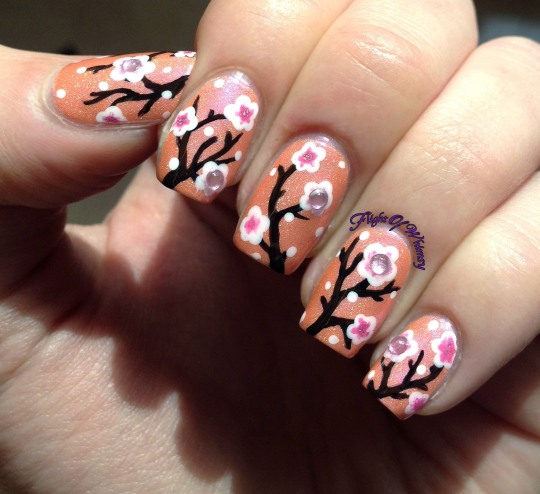
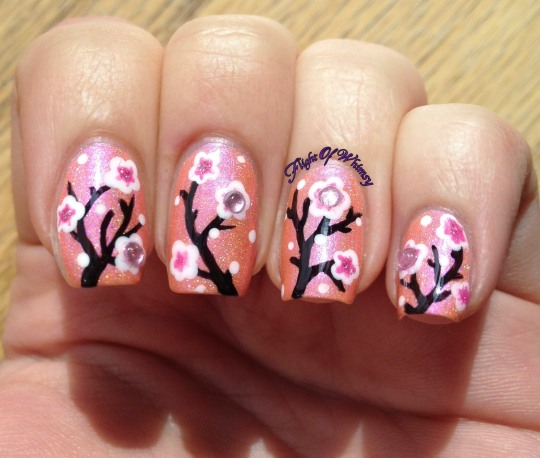
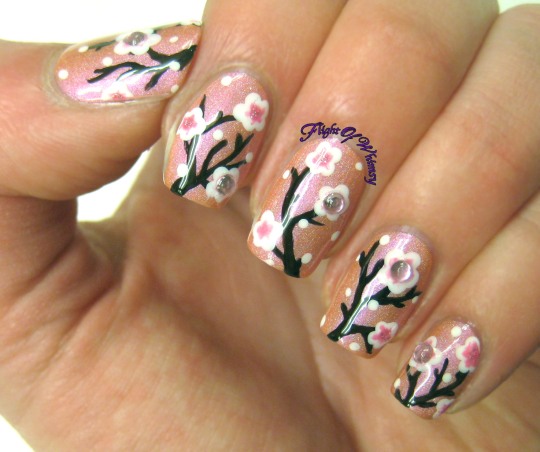
Today’s nail art features the beautiful Mr. Pinchy* by Femme Fatale. This polish just screamed “spring!” to me, so I went for some cherry blossom nail art!
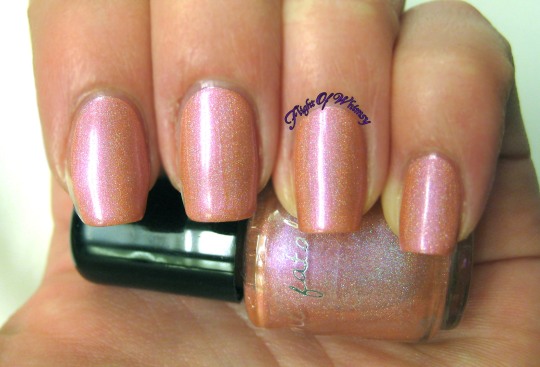
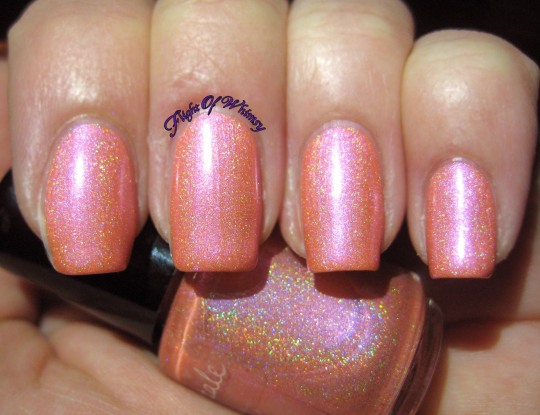
The base, Mr. Pinchy, is a salmon pink linear holographic polish. The holographic flare is not incredibly strong, but is easily visible with direct light. In the shade, the polish shimmers with silver glitters from the holo bits! For this swatch, I used two thin coats of polish over my normal base coat, although I honestly could have gotten away with one! Mr. Pinchy is self leveling and dried quickly. Application was perfect.
This polish appears pink in some lights and coral in others! It is a very delicate feminine shade, with enough glitter to make it interesting. I usually don’t care for pinks, but I find myself liking this shade!
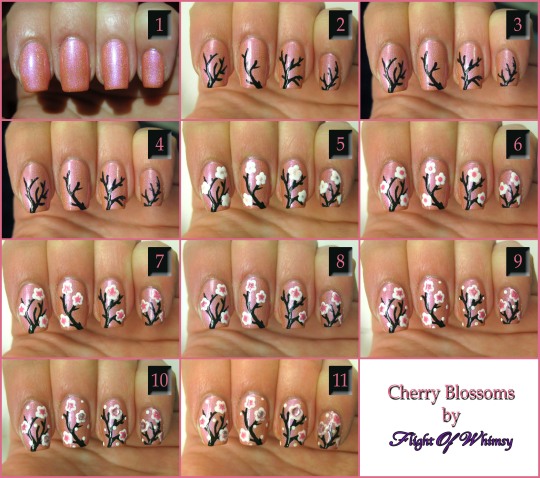
I have also put together a tutorial for the cherry blossoms at the bottom of this post. There are a lot of steps, but it was very easy!
It should be spring! Please 14 degree weather, GO AWAY! I want to bring out my skirts again…and it will be 60 today, but 28 on Thursday! Not ok.
Colors
- Pink holo: Femme Fatale – Mr. Pinchy
- Black: Sinful Colors – Black on Black
- Brown: Zoya – Louise
- White: Zoya – Purity
- Light pink: NYC – Prospect Park Bloom
- Pink creme: Sinful Colors – Pink Forever
- Pink glitter: Milani – Digital
Hope you enjoyed! If you (like me) can’t wait to wear Mr. Pinchy in the spring, you can find it at Femme Fatale for $12.50. Enjoy!
Tutorial:
- Paint your nails with a pale peachy pink. I am using Mr. Pinchy by Femme Fatale.
- Paint branches in black polish using a nail art brush. Make the branches slightly fatter towards the free edge of your nail.
- Go over the branches faintly in dark brown polish. It does not need to cover the black, just highlight certain bits to add depth.
- Using a dotting tool (unbent bobby pin!) add flowers made of 5 white dots. I recommend 2-4 flowers per nail. (I put the wrong photo here. See image 5, but without the light pink dot in the center. Sorry!!!)
- In the center of your white flowers, add a large dot of light pink for depth.
- In the center of the flowers, add a dot of darker pink.
- Add small lines in the same dark pink from Step 6, to create veins in the flower petals.
- Add a small dot of holographic glitter polish to the center of the flowers.
- Using a small dotting tool (or an unbent paper clip) add a few white dots to the rest of the nail. These are the blown away petals!
- If you want, add pink rhinestones to the center of select flowers. I did one per nail.
- Top coat, voila!
* Product sent for review. All opinions contained within this post are my own.



Comments on: "Cherry Blossoms" (9)
Thanks for this. I have yet to try doing cherry blossoms and have such issues painting tree branches.
you kinda just…go. Don’t worry about how thin they are or anything, and just remember you can cover up any mistakes with cherry blossoms!
Truly beautiful and talented
aww, thank you so much!
I love the Mr. Pinchy shade, how gorgeous is that!!
its just stunning. somehow both soft and vibrant. and i don’t even like pinks!
SO PRETTY
😀
[…] Femme Fatale – Mr. Pinchy (the only holo to make the […]